I love that we live in a time when we have so many resources available right at our fingertips. Gone are the days of flipping through workbooks at the copy machine, just find what you need online (lets be honest...on Pinterest or TpT) and print!
When printing your digital resources, check out these tips and let me know if you learned anything new or if there are any tricks I missed!

First, ALWAYS, print from Adobe (or maybe another PDF reader). If you print directly from the internet, things are more likely to get messed up and you don't have as many options.
Tip 1: Want to save your color ink?
Print any worksheet black and white by choosing the "grayscale" option.

Sometimes I find awesome printable books online, but I don't prefer full 8.5x11 page books. If you choose the option to print two to a page, you instantly have a smaller sized book!

I also love using this feature to turn my file folder activities into worksheets as seen below.

This tip also works great when you want to make smaller sized pages of anything, such as turning posters into flashcards, or worksheets into task cards.
Tip 3: Print Poster Size for extra large visuals (great for students with visual impairments or classroom samples)


Tip 4: Print borderless!
I love the look printing borderless gives products like my greeting cards. Everything stays nice and uniform when folded and it looks so much better!

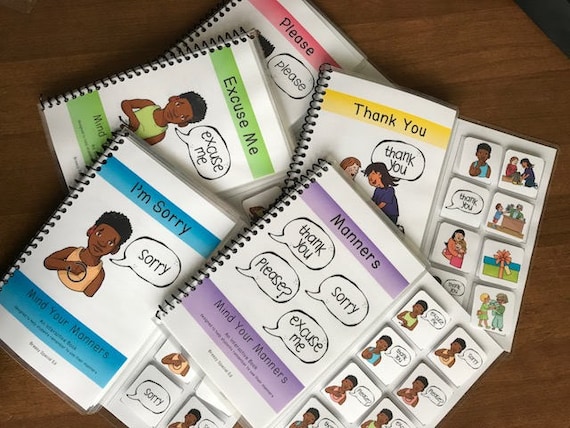
Also, the pages on the adapted books I've created will be exactly the right size IF you print borderless. Then all you have to do is cut right down the middle and you're good to go, otherwise you may have to trim a little bit off.
Tip 5: Print ONLY the pages you need

Use the table of contents to print exactly what you need (and nothing more)! This also makes it easy to create individualized student packets. For example, for my students math packets, I mark which level each student is with their color. A few students (pink and yellow) are in different levels depending on the subject, so I've marked those on the table.

So there you have it, those are the printing settings I find myself using most often. Did you learn anything new today? Did I miss any printing tips that you find helpful? Let me know!


No comments