
Setting Up Your Calming Center
Making the Most of Limited Space
Even if space is limited, you can still establish a successful calming space. Focus on including essential tools like visuals, fidgets, and sensory items. You can also create a portable calming basket that contains the necessary tools for students to use when they need a moment of calm, making it a flexible solution for smaller classrooms.
How Students Request Calm Time
Teaching Deep Breathing Techniques

Introduce various methods, such as square breaths, smelling flowers/blowing candles, and infinity breaths. Use the cards included in the Calming Center set to teach and to have students practice. Students can trace the square or infinity symbols as they breathe in and out.
Encourage students to continue taking deep breaths beyond the specified counts if they feel like they need more.
Calming Sensory Choices
Include a variety of sensory tools, such as fidgets, sequin pillows, bubble timers, pop its, stuffed animals (for giving a hug), putty, headphones and more!
Some other items to consider would be a weighted vest/blanket/lap pad, fuzzy blankets, yoga ball, sensory sock, and sensory brushes. See this list on amazon for my recommendations!
Use visual cards that show these choices and create customized calming choice boards or menus for your classroom or individual students so they know what they can choose when they use the center. The blank choice templates include 4 or 8 options which allows for personalization.

The calming choice cards can also be laminated, hole-punched, and attached to a keychain for easy on-the-go access (be sure to only use strategies that you can use on-the-go).
Incorporating Calming Videos
Consider incorporating calming videos as part of your calming center.
Tip: If you have a spare device, like an old iPhone or tablet, set it up to play calming videos. Download the YouTube Kids app and manually approve soothing videos. This can include scenes like ocean waves or underwater fish with relaxing music. You can then also use guided access so the device can only play those videos.
Don't just use these strategies in the calming center! Dim the lights and project these videos during times when the class tends to be agitated, such as after lunch or before (or after) field trips. Incorporating this calming time into your classroom schedule can have a positive impact on the overall classroom environment.
Implementing a Calming Center Schedule
Having preset timers available at the calming center allows students to regulate their time spent there. Set timers for durations like 5 or 10 minutes, depending on your students' needs, and let student's know which timer they will set when they go to the center. Hint: Use different colored timers for different groups of students as needed.
Walk the class through the schedule before they need to use it. The typical routine should look something like this:
- Set timer
- Practice deep breaths
- Choose a calming activity
- Return to class when calm
Encourage students to return to work when they feel ready or when the timer goes off. Flexibility is important, so if a student needs more time, feel free to grant it.
Set Up a Calming Center in Your Classroom Today!
By establishing a calming center and implementing these strategies, special education teachers can create a more supportive and soothing classroom environment for their students.
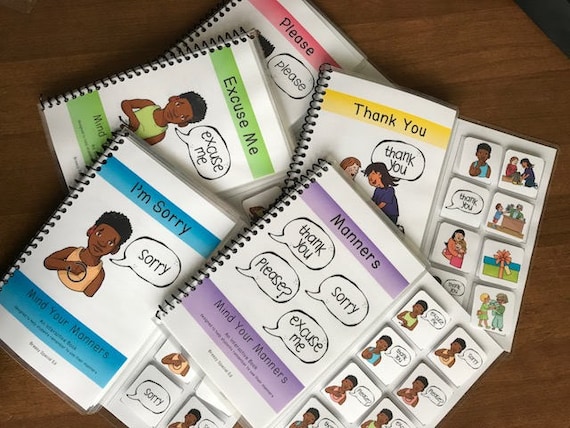
Grab this set of visuals to help set up your calming center for success!
FAQ about Calming Centers
Remember that each student is unique, so feel free to tailor the calming center to meet the specific needs of your class.


No comments